Managing your Opt-In obligations on a regular basis is straightforward.
Link
To set Opt-In Dates, please see the Disclosure & Opt-In Dates article
To get started with Opt-In records see the Generating Opt-In Renewals article
For letters & mail merge see the Disclosure & Opt-In Templates article
Locate Opt-In
- Navigate to the ◭ Practice Compliance dashboard
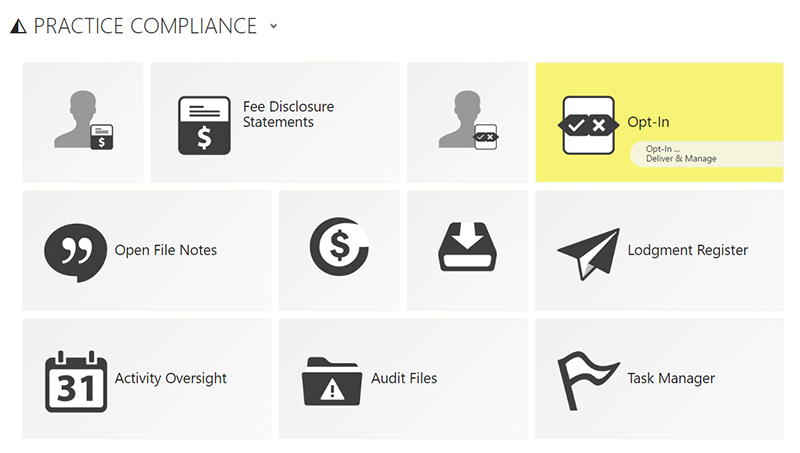
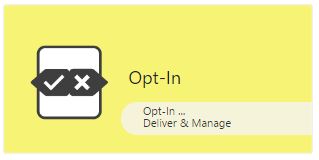
- Select the Opt-In button
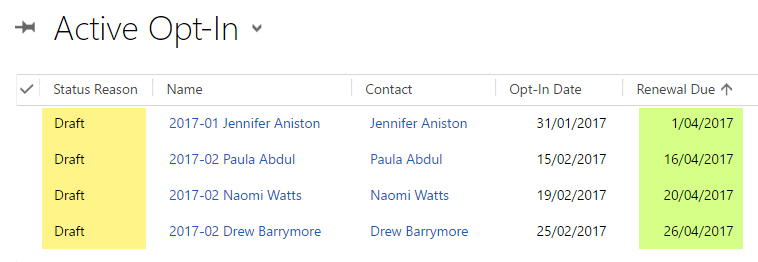
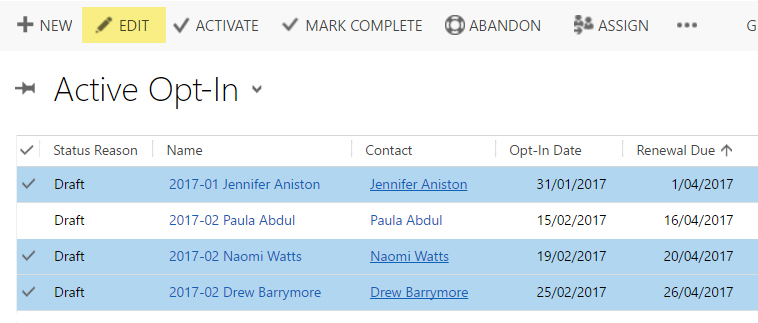
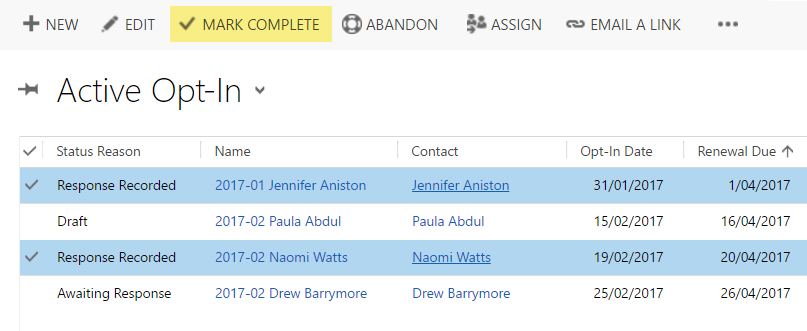
- The window opens displaying any Active generated Opt-In records
Notice the Status, and the Renewal Due dates
Opt-In Record
These records will help you manage your multiple Opt-In obligations. Statuses show the overall state, and fields will record key data. Once they are satisfied you can Mark Complete.
- Open any Opt-In record
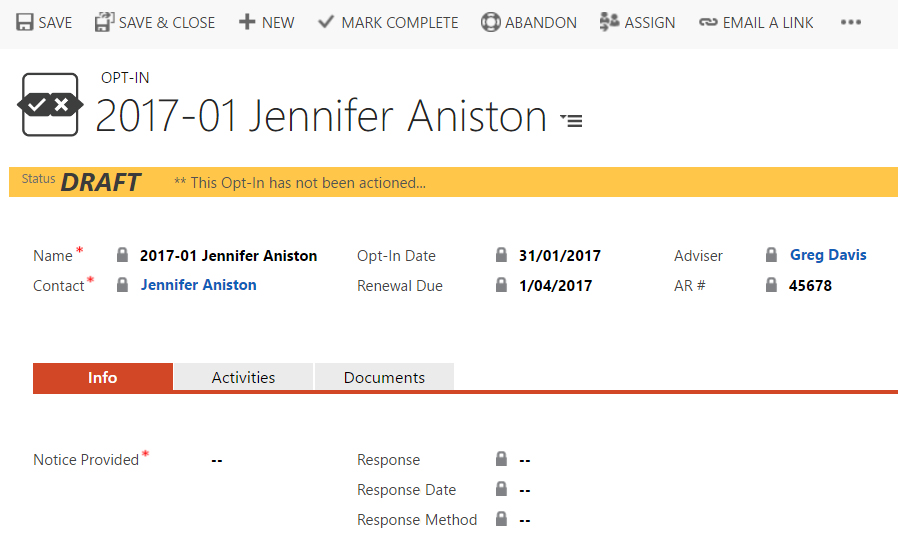
Statuses
As you work with Opt-In records the Status will change automatically to help you keep organised.
- Draft
The default status, indicates nothing has occurred yet.
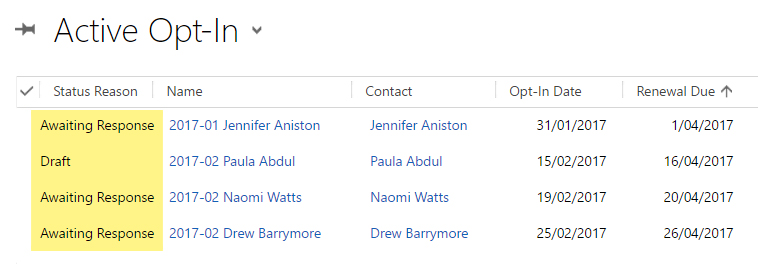
- Awaiting Response
Setting a Notice Provided date will trigger this status
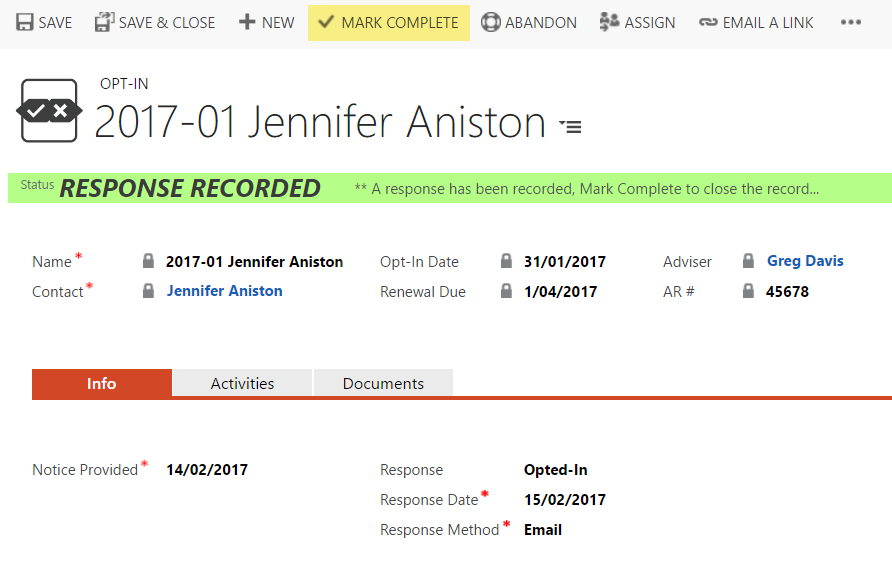
- Response Recorded
Setting a Response will trigger this status
Fields Explained
The fields are designed to help record the key data.
- Notice Provided
Set this date to record when you issued the renewal notice
- Response
Record the appropriate response by the Renewal Due date
Opted-In, Opted-Out, Opted-Out (No Response)
- Response Date
Record the date that the response was received
- Response Method
Record the method by which the response was received
Email, Phone, Letter, In Person
Edit Records
You can edit single Opt-In records, or in bulk when updating values.
Individual Records
- Open any Opt-In record
- Add a Notice Provided date when you have issued a renewal
- Add a Response, Response Date & Response Method when one is received
- Add any relevant Activities via the Activities Tab
- Add any relevant Documents via the Documents Tab
Records In Bulk
- Navigate to the ◭ Practice Compliance dashboard
- Select the Opt-In button to view your active Opt-In records
- Select all Opt-In records desired (tick one, many or all)
- Click the Edit button
Edit only the values required
- Add a Notice Provided date when you have issued a renewal
- Add a Response, Response Date & Response Method when one is received
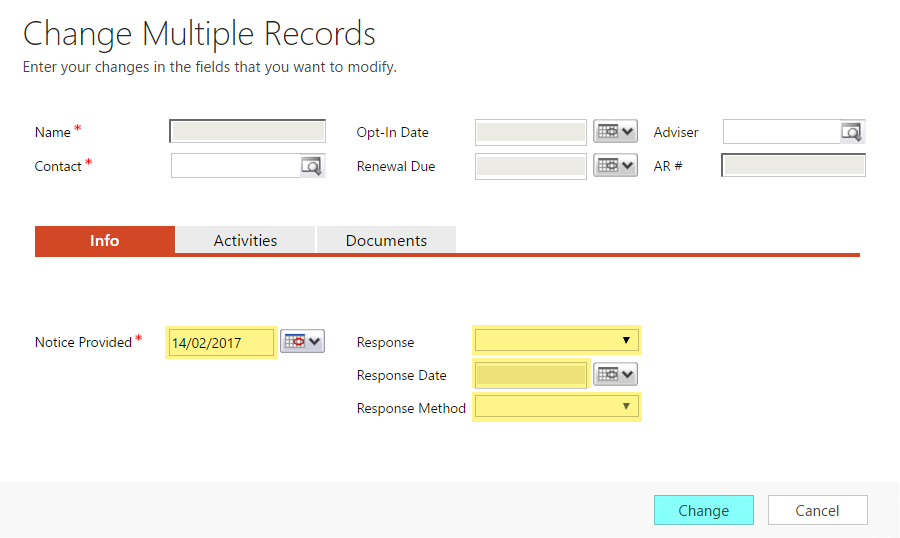
- Click Change to bulk edit
Critical
Bulk editing will overwrite all records with the values you enter, there is no Undo! Therefore be careful to only update those values you wish to modify across all records.
- After updating the Notice Provided on three records, notice the Status is now updated
Closing Records
By the Renewal Due date, you must have either:
a) with client response documented as evidence
set the Response = Opt-In or Opt-Out
set the Response Date & Response Method
b) when no response is received
set the Response = Opt-Out (No Response)
- By doing this, the Status of your Opt-In records will be Response Recorded
You can close single Opt-In records, or in bulk when updating values.
Individual Records
- Open any Opt-In record
- Click the Mark Complete button
Records In Bulk
- Navigate to the ◭ Practice Compliance dashboard
- Select the Opt-In button to view your active Opt-In records
- Select all Response Recorded Opt-In records desired (tick one, many or all)
- Click the Mark Complete button
Confirmation
You will be prompted to confirm the Mark Complete action.
- Click OK to proceed
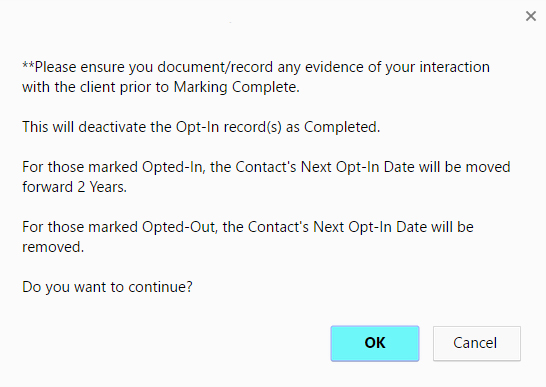
- The records will be deactivated and removed from your Active Opt-In view
- For those marked Opt-In, the Contact's Next Opt-In Date will be moved forward 2 Years
- For those marked Opt-Out, the Contact's Next Opt-In Date will be removed