D365 Checklists · Admin
Using Checklist Templates
Being updated. This article comes from our old Help Center. Its steps and screenshots show the older Dynamics 365 interface, so some menus may look different today.
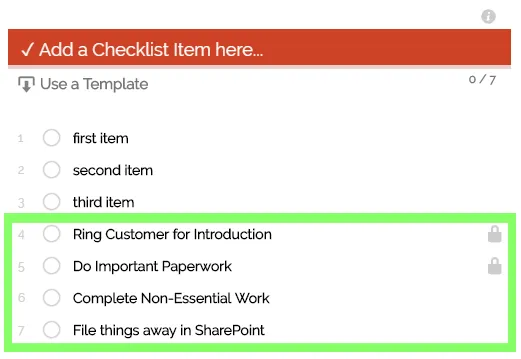
Checklist Templates are the pre-configured lists of to-do items that can be called on-demand, or used in workflow automation.
⚠ Image lost:
D365-Checklists---Use-A-Template.jpg
What are they?
Section titled “What are they?”Checklist Templates are records you create to store lists of items that can be re-used over and over again.
Think of Checklist Templates as your library of pre-defined process lists, that you can expand over time as you try to streamline your business processes.
⚠ Image lost:
D365-Checklists---Checklist-Template-Form.jpg
Navigation
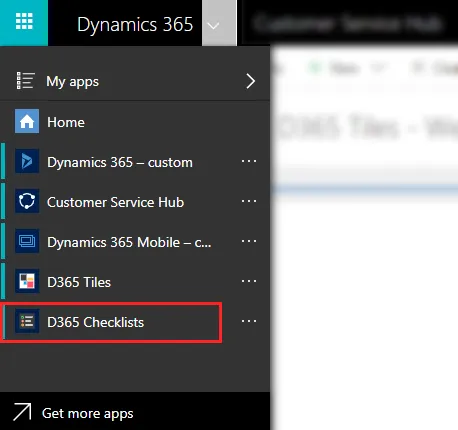
Section titled “Navigation”- Go to the Dynamics 365 APP Switcher
- Select the D365 Checklists app
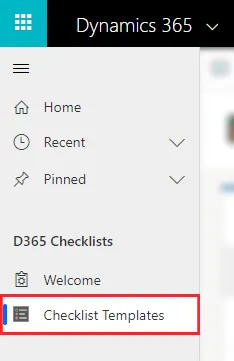
- Select Checklists Templates from the sitemap
Create or Edit
Section titled “Create or Edit”- Navigate to Checklist Templates
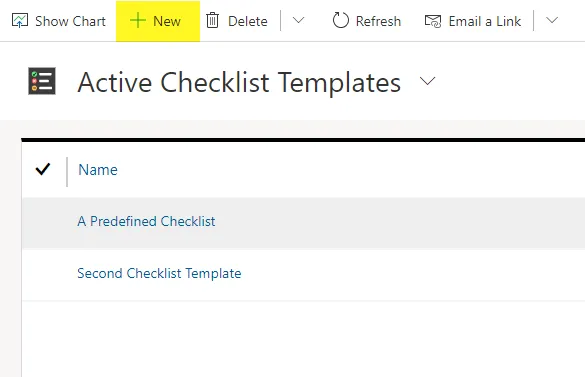
- Click the
 NEW button to add a new Checklist Template
 - or open an existing Checklist Template to edit it
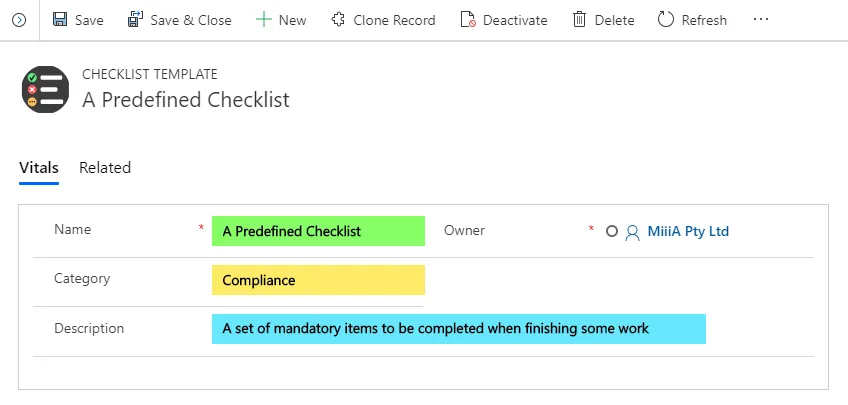
- Set or Edit the main fields:
- Name = The name of the template
- Category = This can make your templates easier to sort
- Description = Use it if you need a reminder of what the template’s for
- Save your changes
Set the Checklist Items
Section titled “Set the Checklist Items”- Open to your Checklist Template
- Add Checklist Items as required
⚠ Image lost:
D365_Checklists_Template_Admin.gif
- Edit, Resort or Delete as required
- Lock items that you want to be enforced/mandatory for end-users (This means users can tick/cross them, but not edit or delete them)
- When done just Save & Close
Using Templates
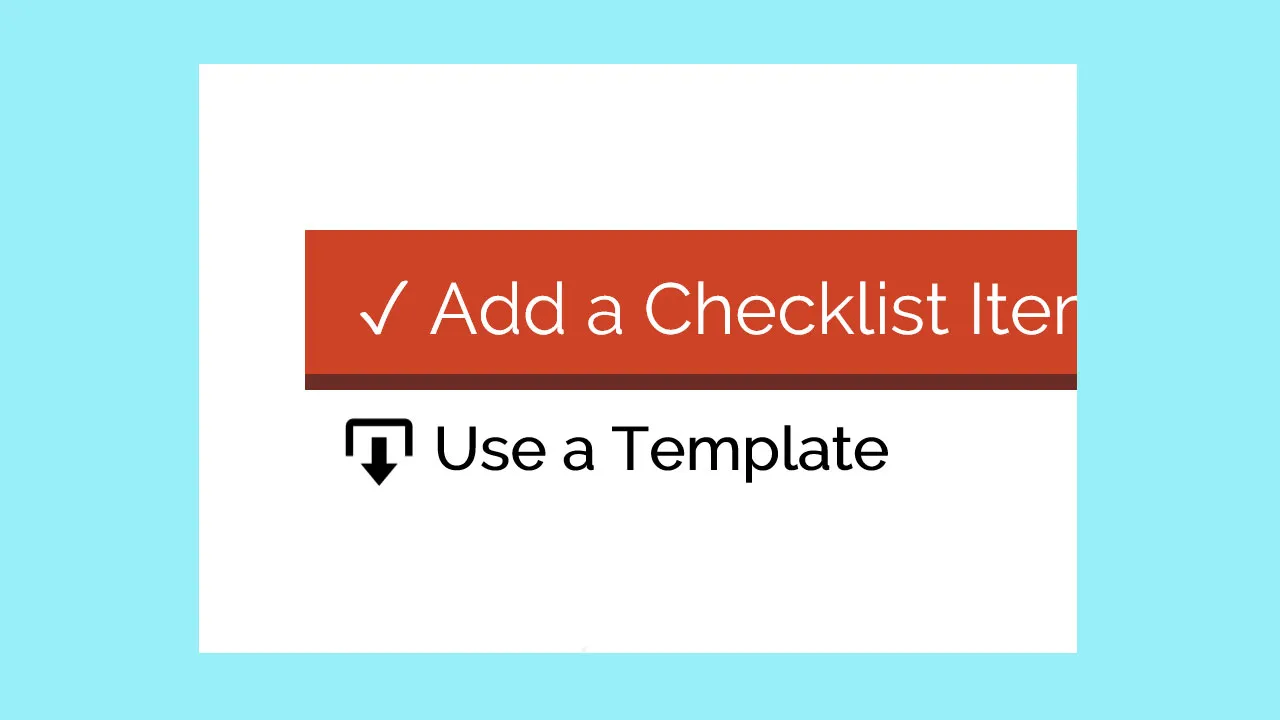
Section titled “Using Templates”- When using any Checklist, click the Use a Template button
- Select the Checklist Template you wish to insert into your Checklist
- Click OK
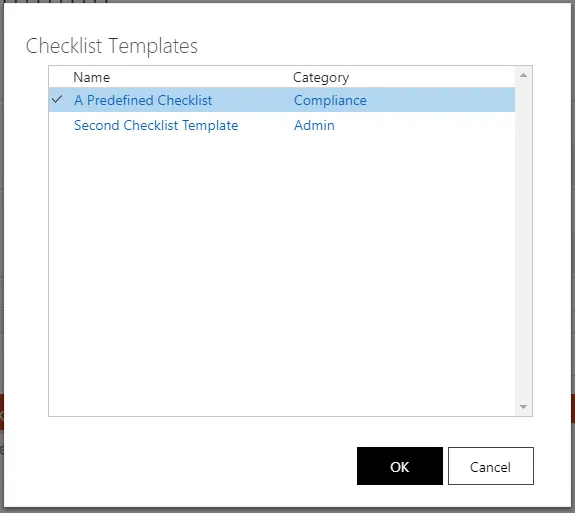
- The items from the Checklist Template will be added to your current Checklist